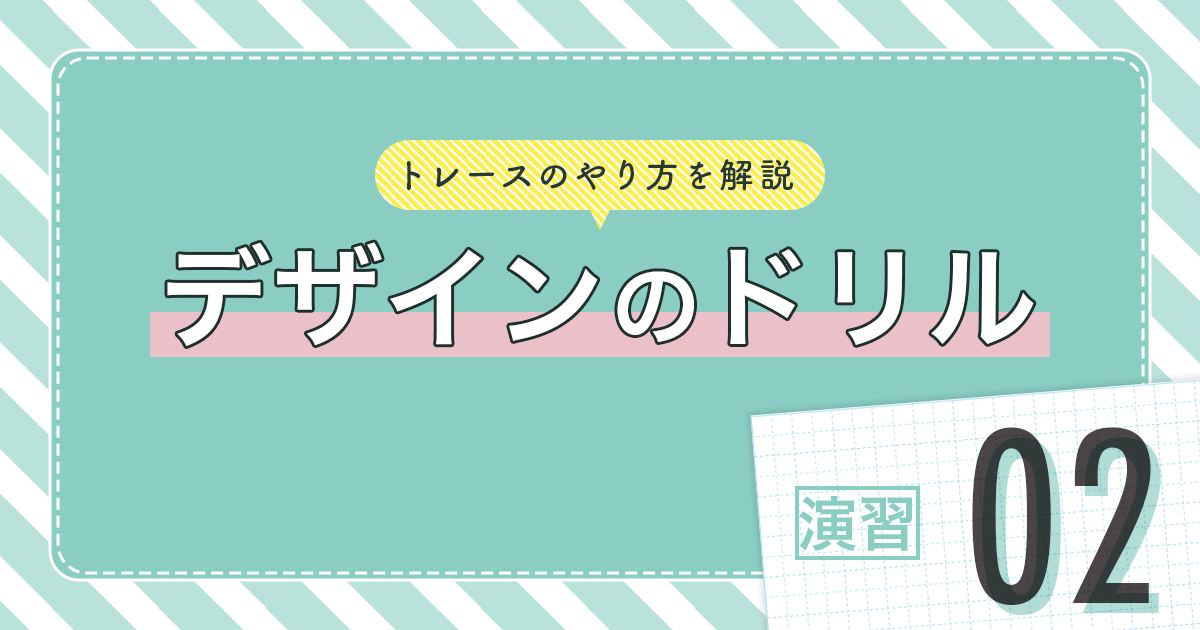
デザイン勉強中の方に大人気の本、デザインのドリル!今回は演習02のトレース方法を解説していきます!
- デザインのドリル演習02のトレースのやり方がわからず困っている
- PhotoshopとIllustrator、どっちを使うべきかわからない
- 30日分トレースが続かない

演習02からは簡潔にいきます!


トレース手順の正解は1通りではなく、無数にあります。あくまで一例として参考程度にご覧ください!
デザインのドリル【演習02】について
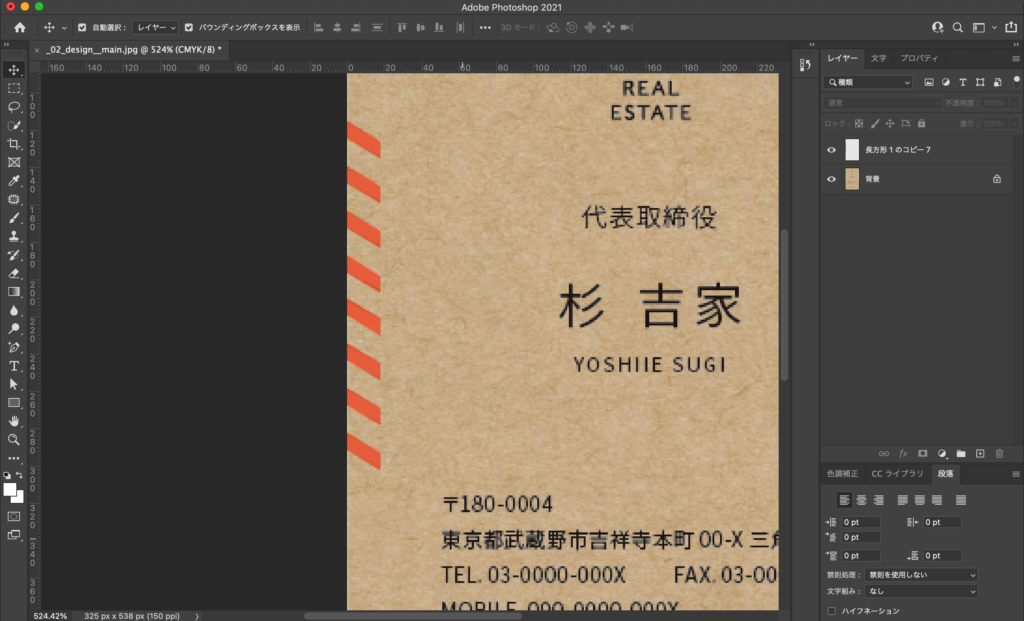
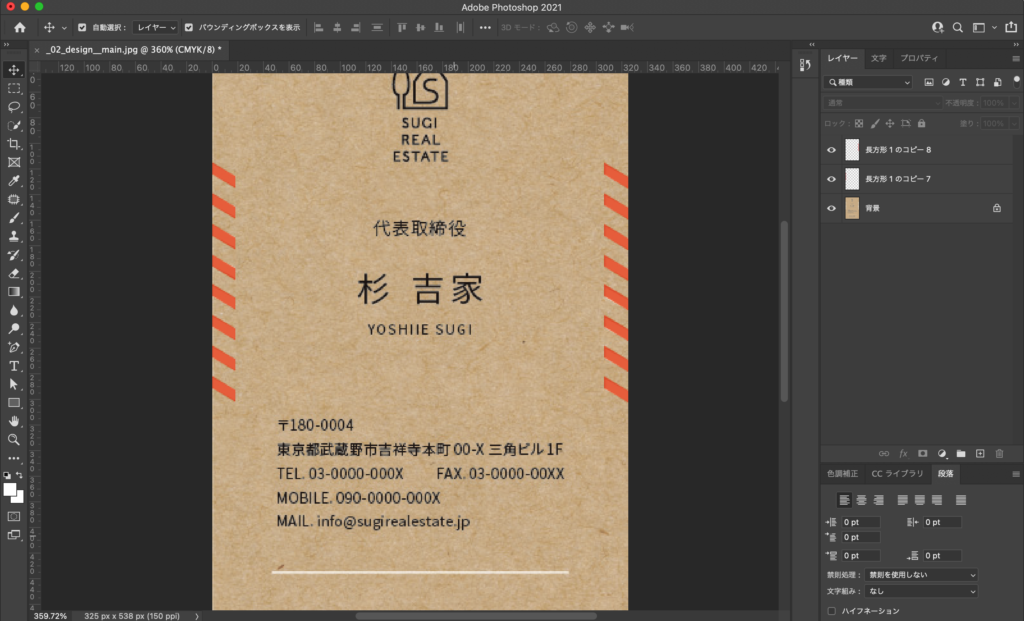
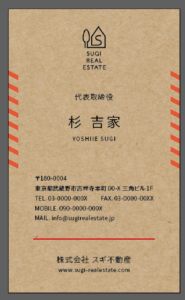
今回、トレースの解説をする演習02の完成形はこちらです。

※クリックで拡大表示ができます。
- 両サイドの白の斜線
このデザインのポイントとなっている白い装飾。今回はここのトレース方法をお伝えします!
デザインのドリル【演習02】は何でトレースする?
演習02は、名刺のデザインなのでIllustratorでトレースするのが良いかと思います。この記事でもIllustratorのやり方をメインに解説します。
紙物のデザインはIllustratorで制作しましょう!
とはいえ、Photoshopでも問題なくできるデザインなので、Photoshopの方も挑戦してみてくださいね!
トレース前の準備
- 素材のダウンロード(演習01でダウンロード済かと思います)
- 使用するフォントをアクティベート
- アートボードの作成と見本デザインの配置
Adobeフォントについて
使用するフォントはAdobe Fontsでアクティベートしておきましょう!Adobe Fontsの詳しいアクティベート方法についてはこちらの記事をご覧ください。
アートボードについて
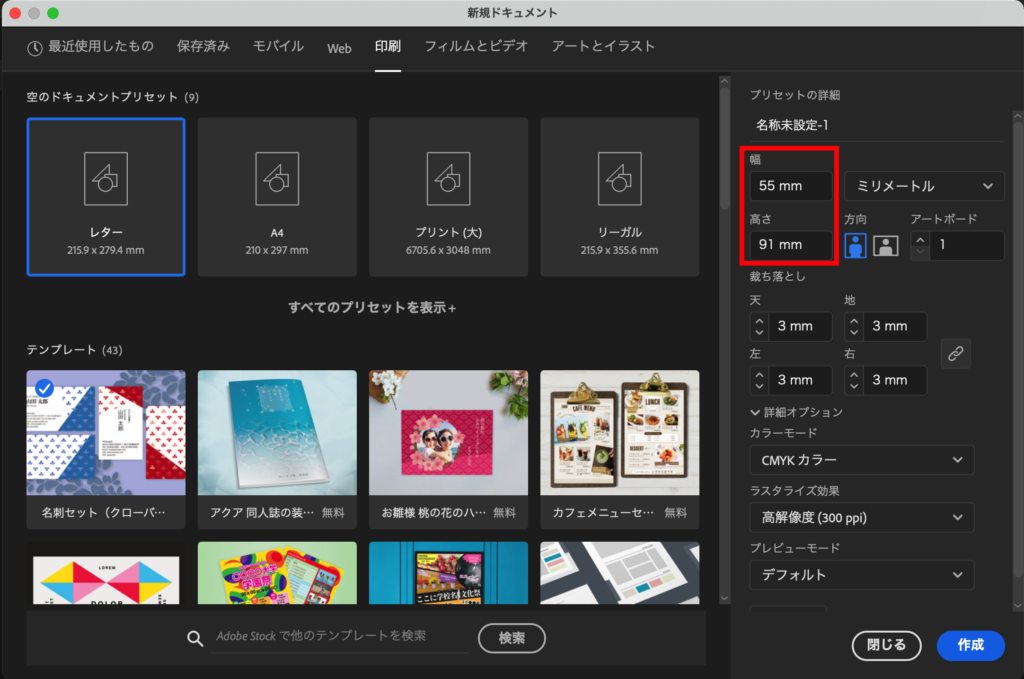
今回は名刺デザインなので、一般的な名刺サイズである、幅55mm/高さ91mmに設定します。印刷はしないので裁ち落としは0mmでもOK。
アートボードが作れたら、見本デザインをドラッグ&ドロップで配置しておきましょう。
いよいよトレース開始!
- 背景画像とロゴを配置
- サイドと下部の白い線のあしらいを作る
- テキストを入力、調整
演習01で画像の配置方法やテキストの入れ方などは詳しく説明しているので、今回の演習02では白い線のあしらいの作り方を重点的に解説します!
白い斜線の作り方
両サイドの斜線から解説します。
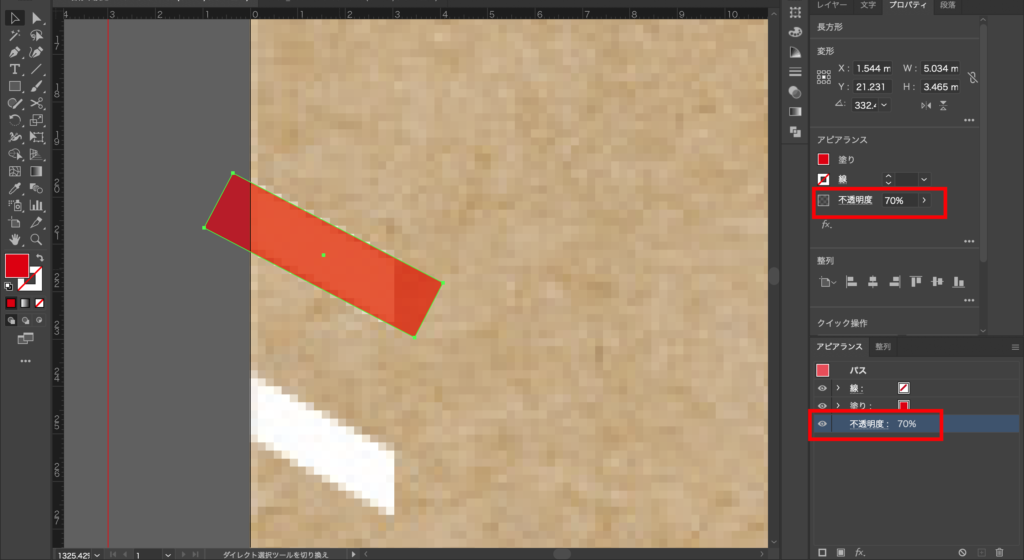
まずは1本、長方形ツールで線を作ります。太さや傾きなどは調整しましょう!

長方形の不透明度を少し下げておくと見本デザインが透けて見えるので調整しやすくなります◎
わかりやすく画像では赤で作っていきます。
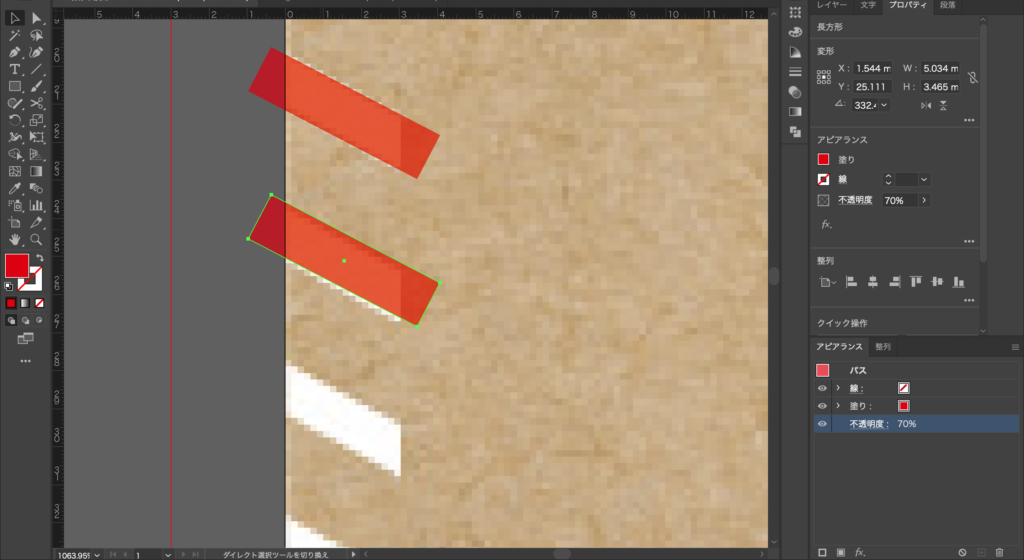
1本作れたら、それをoption(alt)+下カーソルキーで複製しながら大体の位置に合わせていきます。(後ほど綺麗に整列させます!)
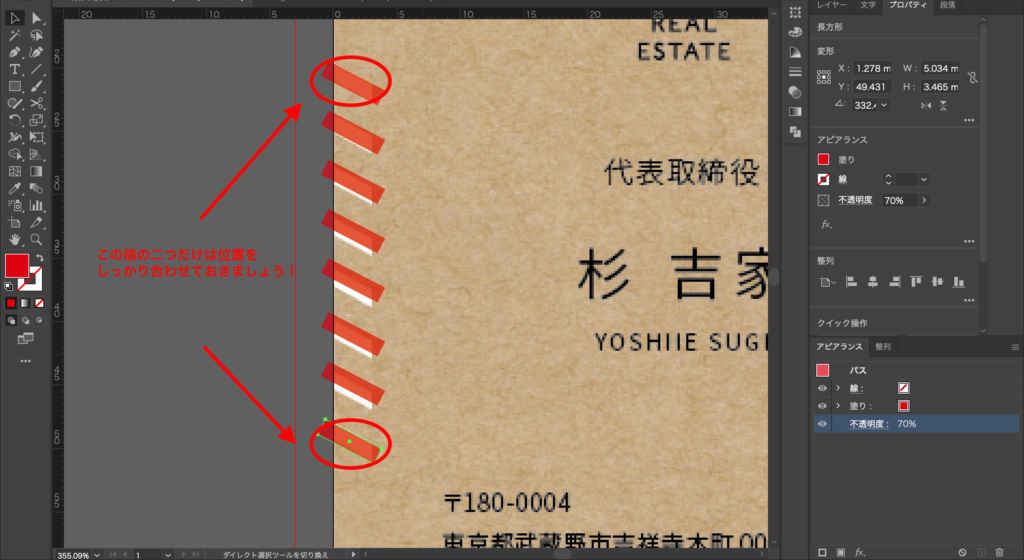
片側8本の斜線がありますが、一番上と一番下だけ綺麗に位置を調整してあげてください。中間のは大体で大丈夫です◎
移動させるときはShift+下カーソルキーで移動させると、カーソルキーだけで移動させる時と比べて10倍の距離で(大きく)移動させることができるので良いですよ!
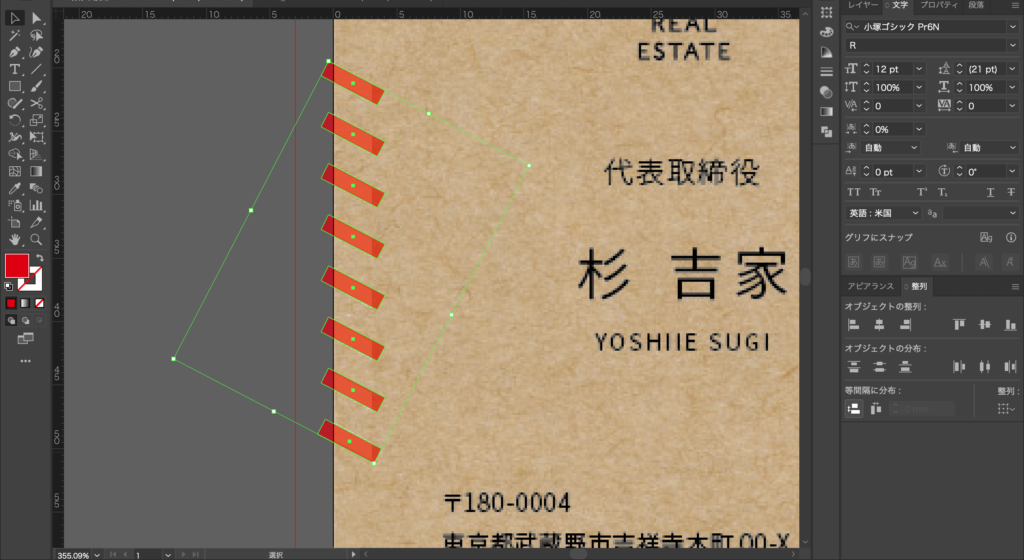
最後に斜線の位置を等間隔にします。
8本全ての斜線を選択し、整列パネルの「等間隔に分布」の「垂直方向等間隔に分布」をクリック。
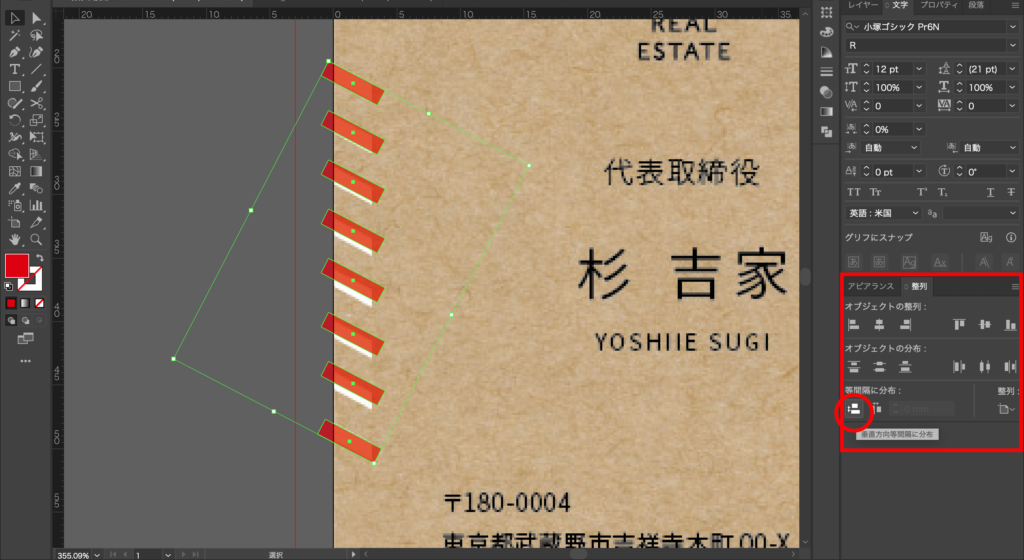
すると綺麗に斜線が等間隔に整列しました!
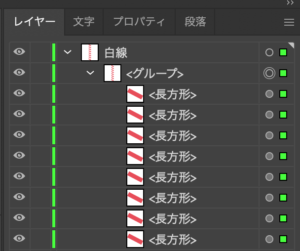
先ほど作った斜線を全て選択した状態で、⌘(Ctrl)+Gでグループ化しておきます。
その上に長方形ツールで長方形を作ります。(画像はわかりやすいように少し不透明度を下げています)
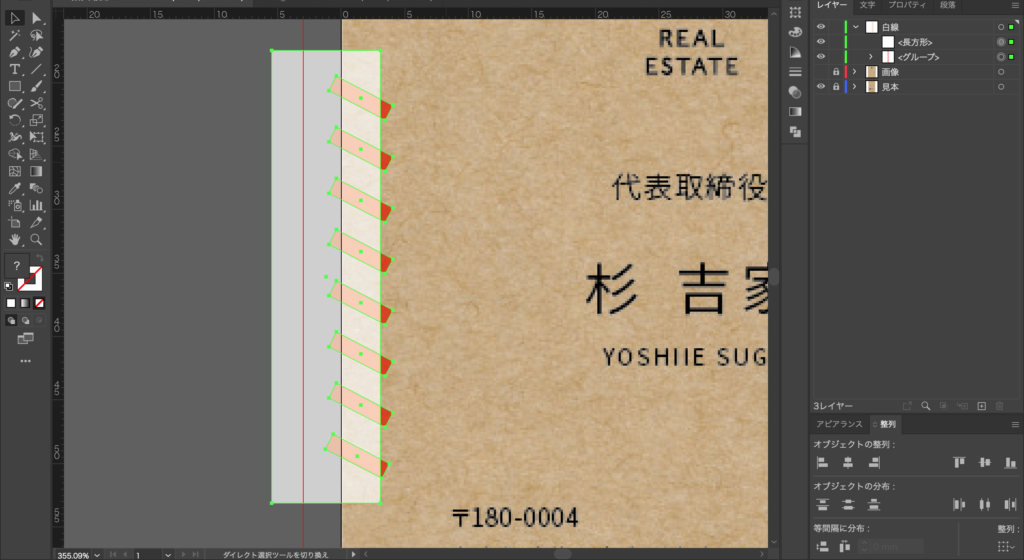
長方形とグループ化した斜線達を一緒に選択し右クリック。「クリッピングマスクを作成」を選択。
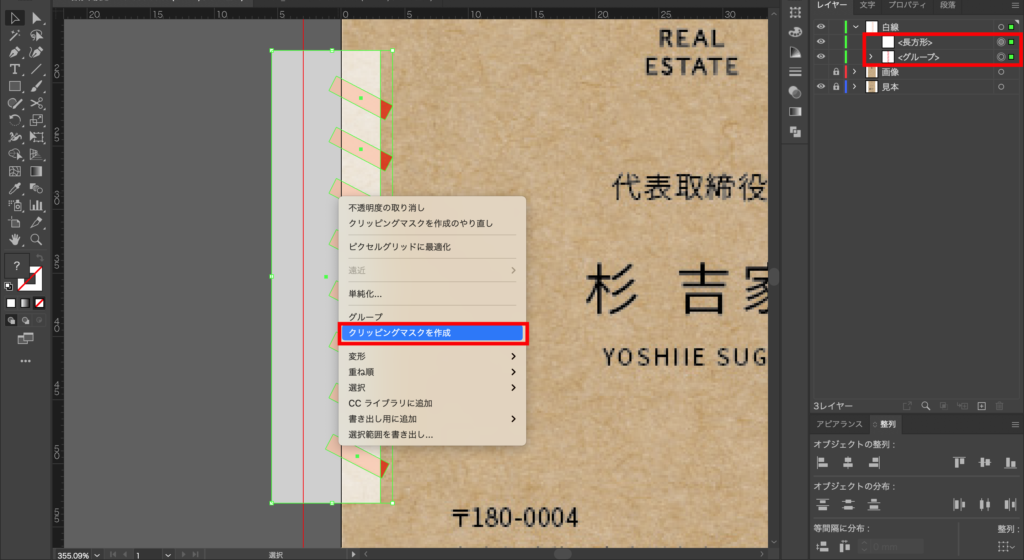
斜線の端が真っ直ぐになりました!
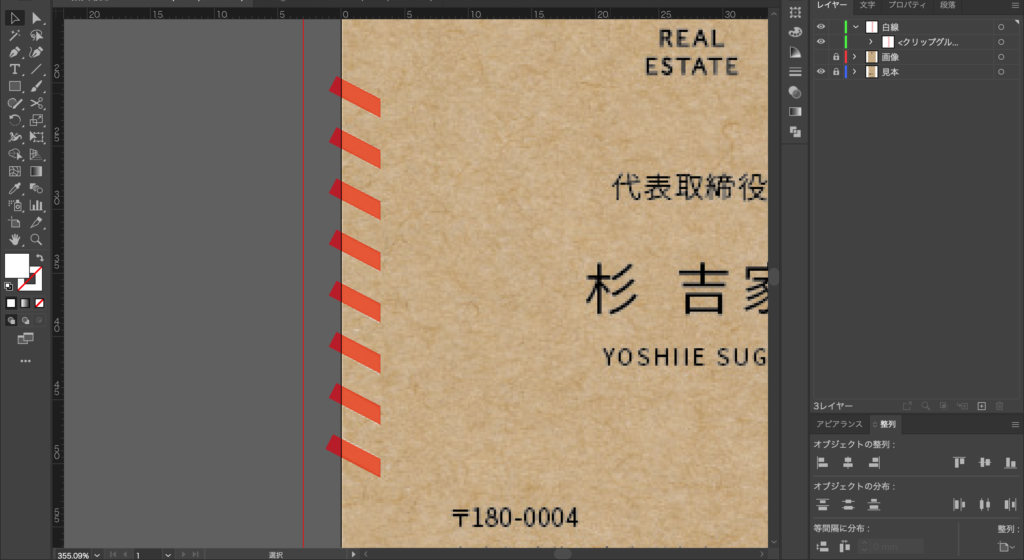
これで片側の斜線は完成です。
アートボードからはみ出ていますが、はみ出ている部分は書き出すときに表示されないので問題ないのです◎
クリッピングマスクした斜線を選択し、右クリック。変形→回転を選択。

角度180°と入力しコピーをクリック。
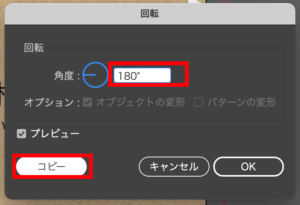
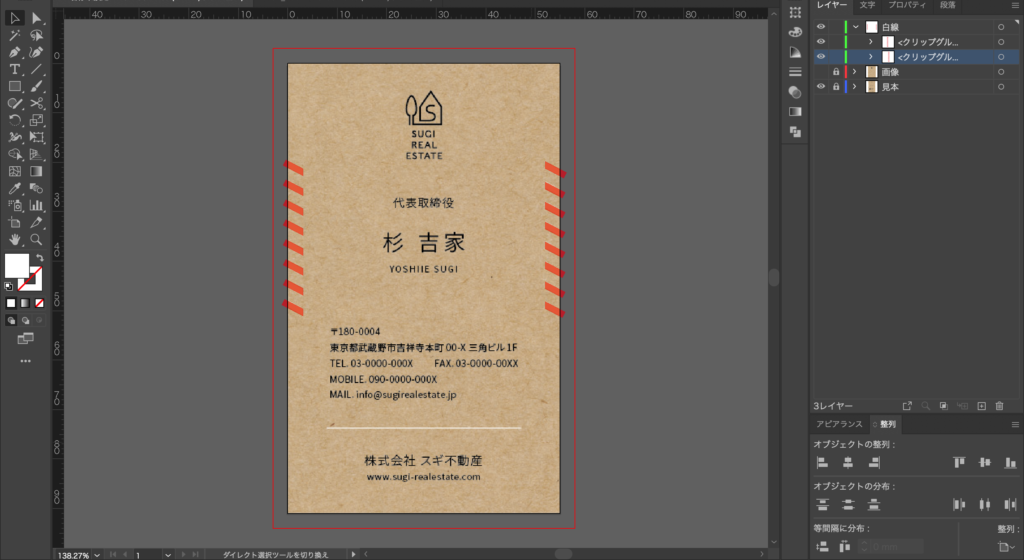
回転されしつつ、複製されました!あとは位置を調整して、完成です!
Photoshopでやる場合
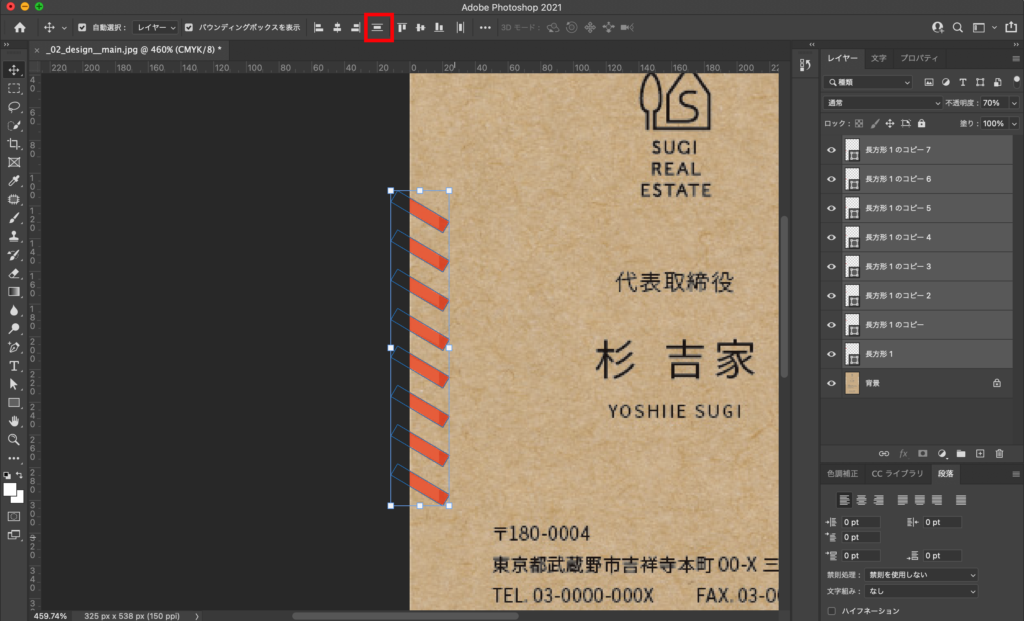
Illustratorの時と同様、長方形を作って並べます。等間隔に整列はこちらをクリック。
8本の長方形を全て選択し、レイヤー上で右クリック。「シェイプを結合」を選択。
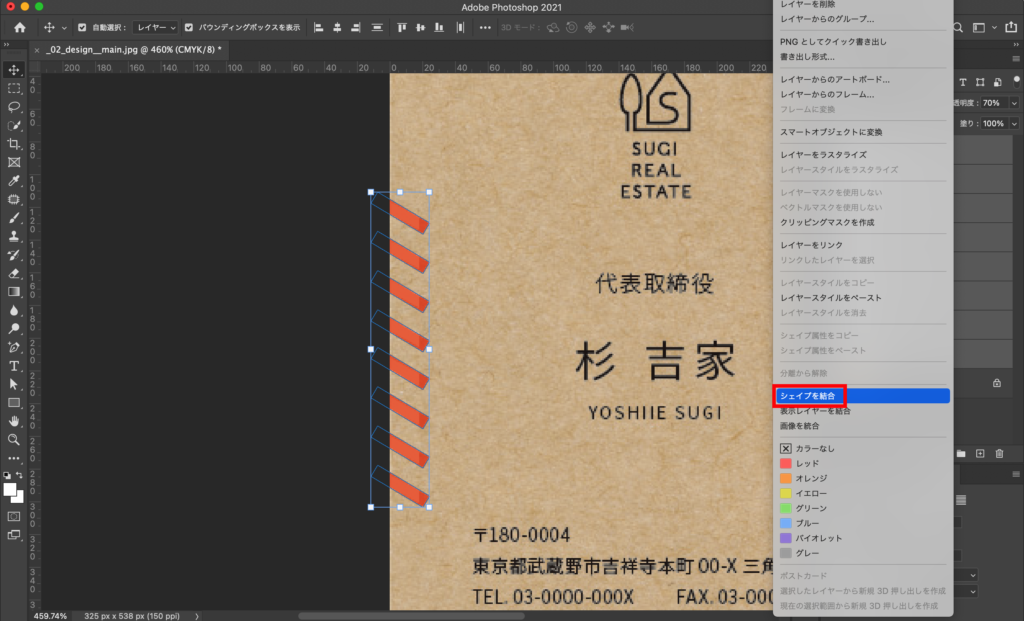
するとレイヤーが一つに結合されました。
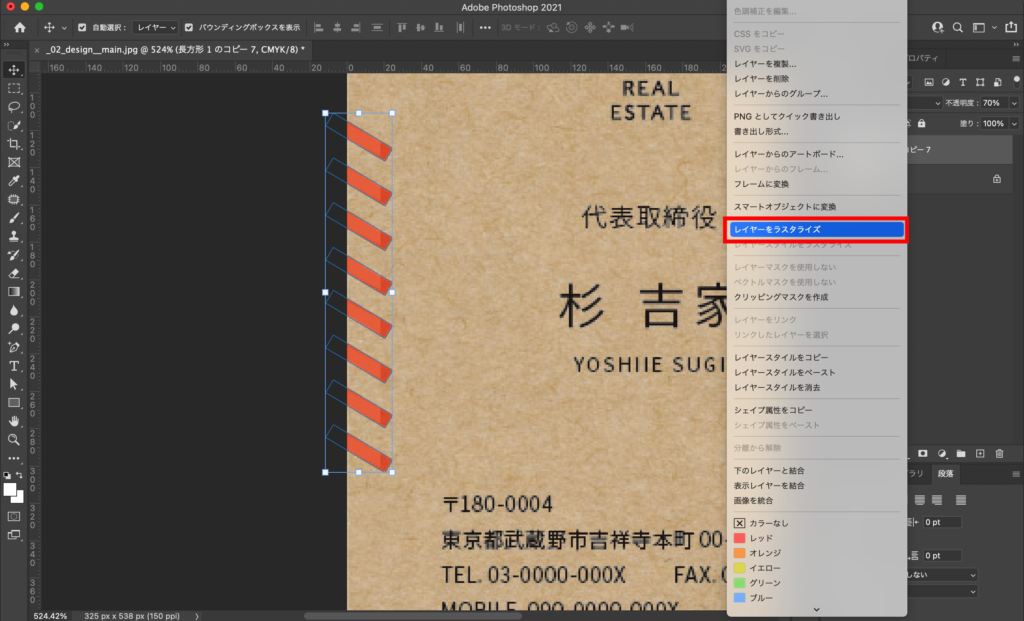
さらにレイヤーをラスタライズしておきます。
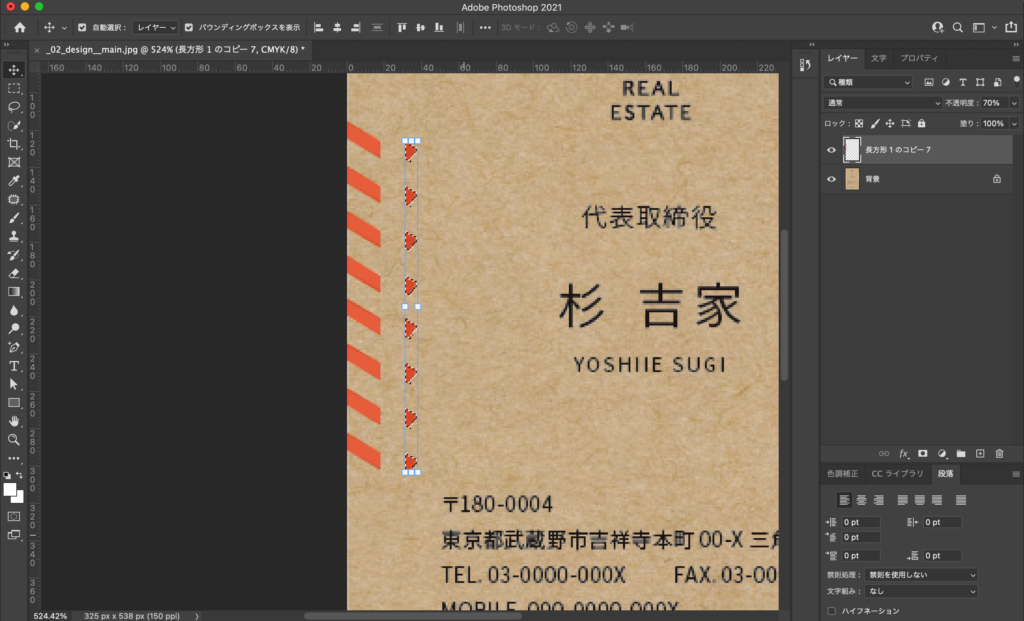
ここから長方形の端を真っ直ぐにしていきます。
ラスタライズしたレイヤーを選択している状態で、長方形選択ツールで真っ直ぐに切り落としたいところに合わせて長方形を作ります。(長方形は点線で表示されます!)

移動ツールに持ち替えて、カーソルキーで右にちょっとずらしてあげると…
切り離すことができました!deleteキーで削除したら片側完成です◎
あとは、これをoption(alt)+カーソルキー(矢印キー)どれかを押すと複製できるので、それをクルッと回転させて反対側に!
これで完成です!
白い線を引く
線を書くのは、演習01でもやっているので復習として◎
ペンツールを選択し、塗りを「なし」、線を「白」(画像ではわかりやすいように赤を選択しています)にします。太さは1mm。


その状態で見本デザインを見ながら、線の端をクリック。次にShiftキーを押しながら反対側の線端をクリック。線がかけたら、最後に⌘(Ctrl)キーを押しながらアートボード上の何もないところをクリックします。
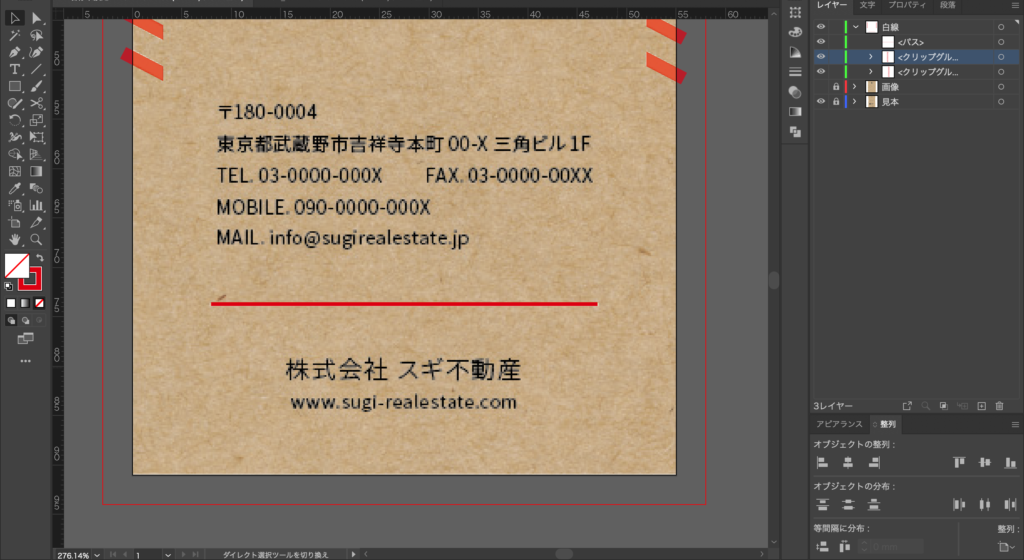
これで線が完成です!
アートボードからはみ出ているところを表示せずに全体を確認したいときに、トリミング表示することができます!
表示→トリミング表示
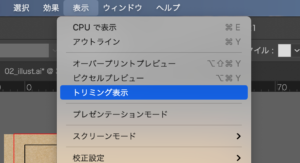
するとはみ出ていた部分が非表示になりました!
最後に
演習02は、簡潔にいきます!と言いつつ長くなってしまいましたね。笑
- 複製のやり方
- 等間隔に整列
- クリッピングマスクの使い方
- Photoshopでの長方形選択ツールの使い方
- ペンツールの使い方
- トリミング表示について
たくさんのテクニックを使いましたね〜!今回はPhotoshopでもやり方も解説しているので、ぜひPhotoshopでもやってみてくださいね^^
それではまた!